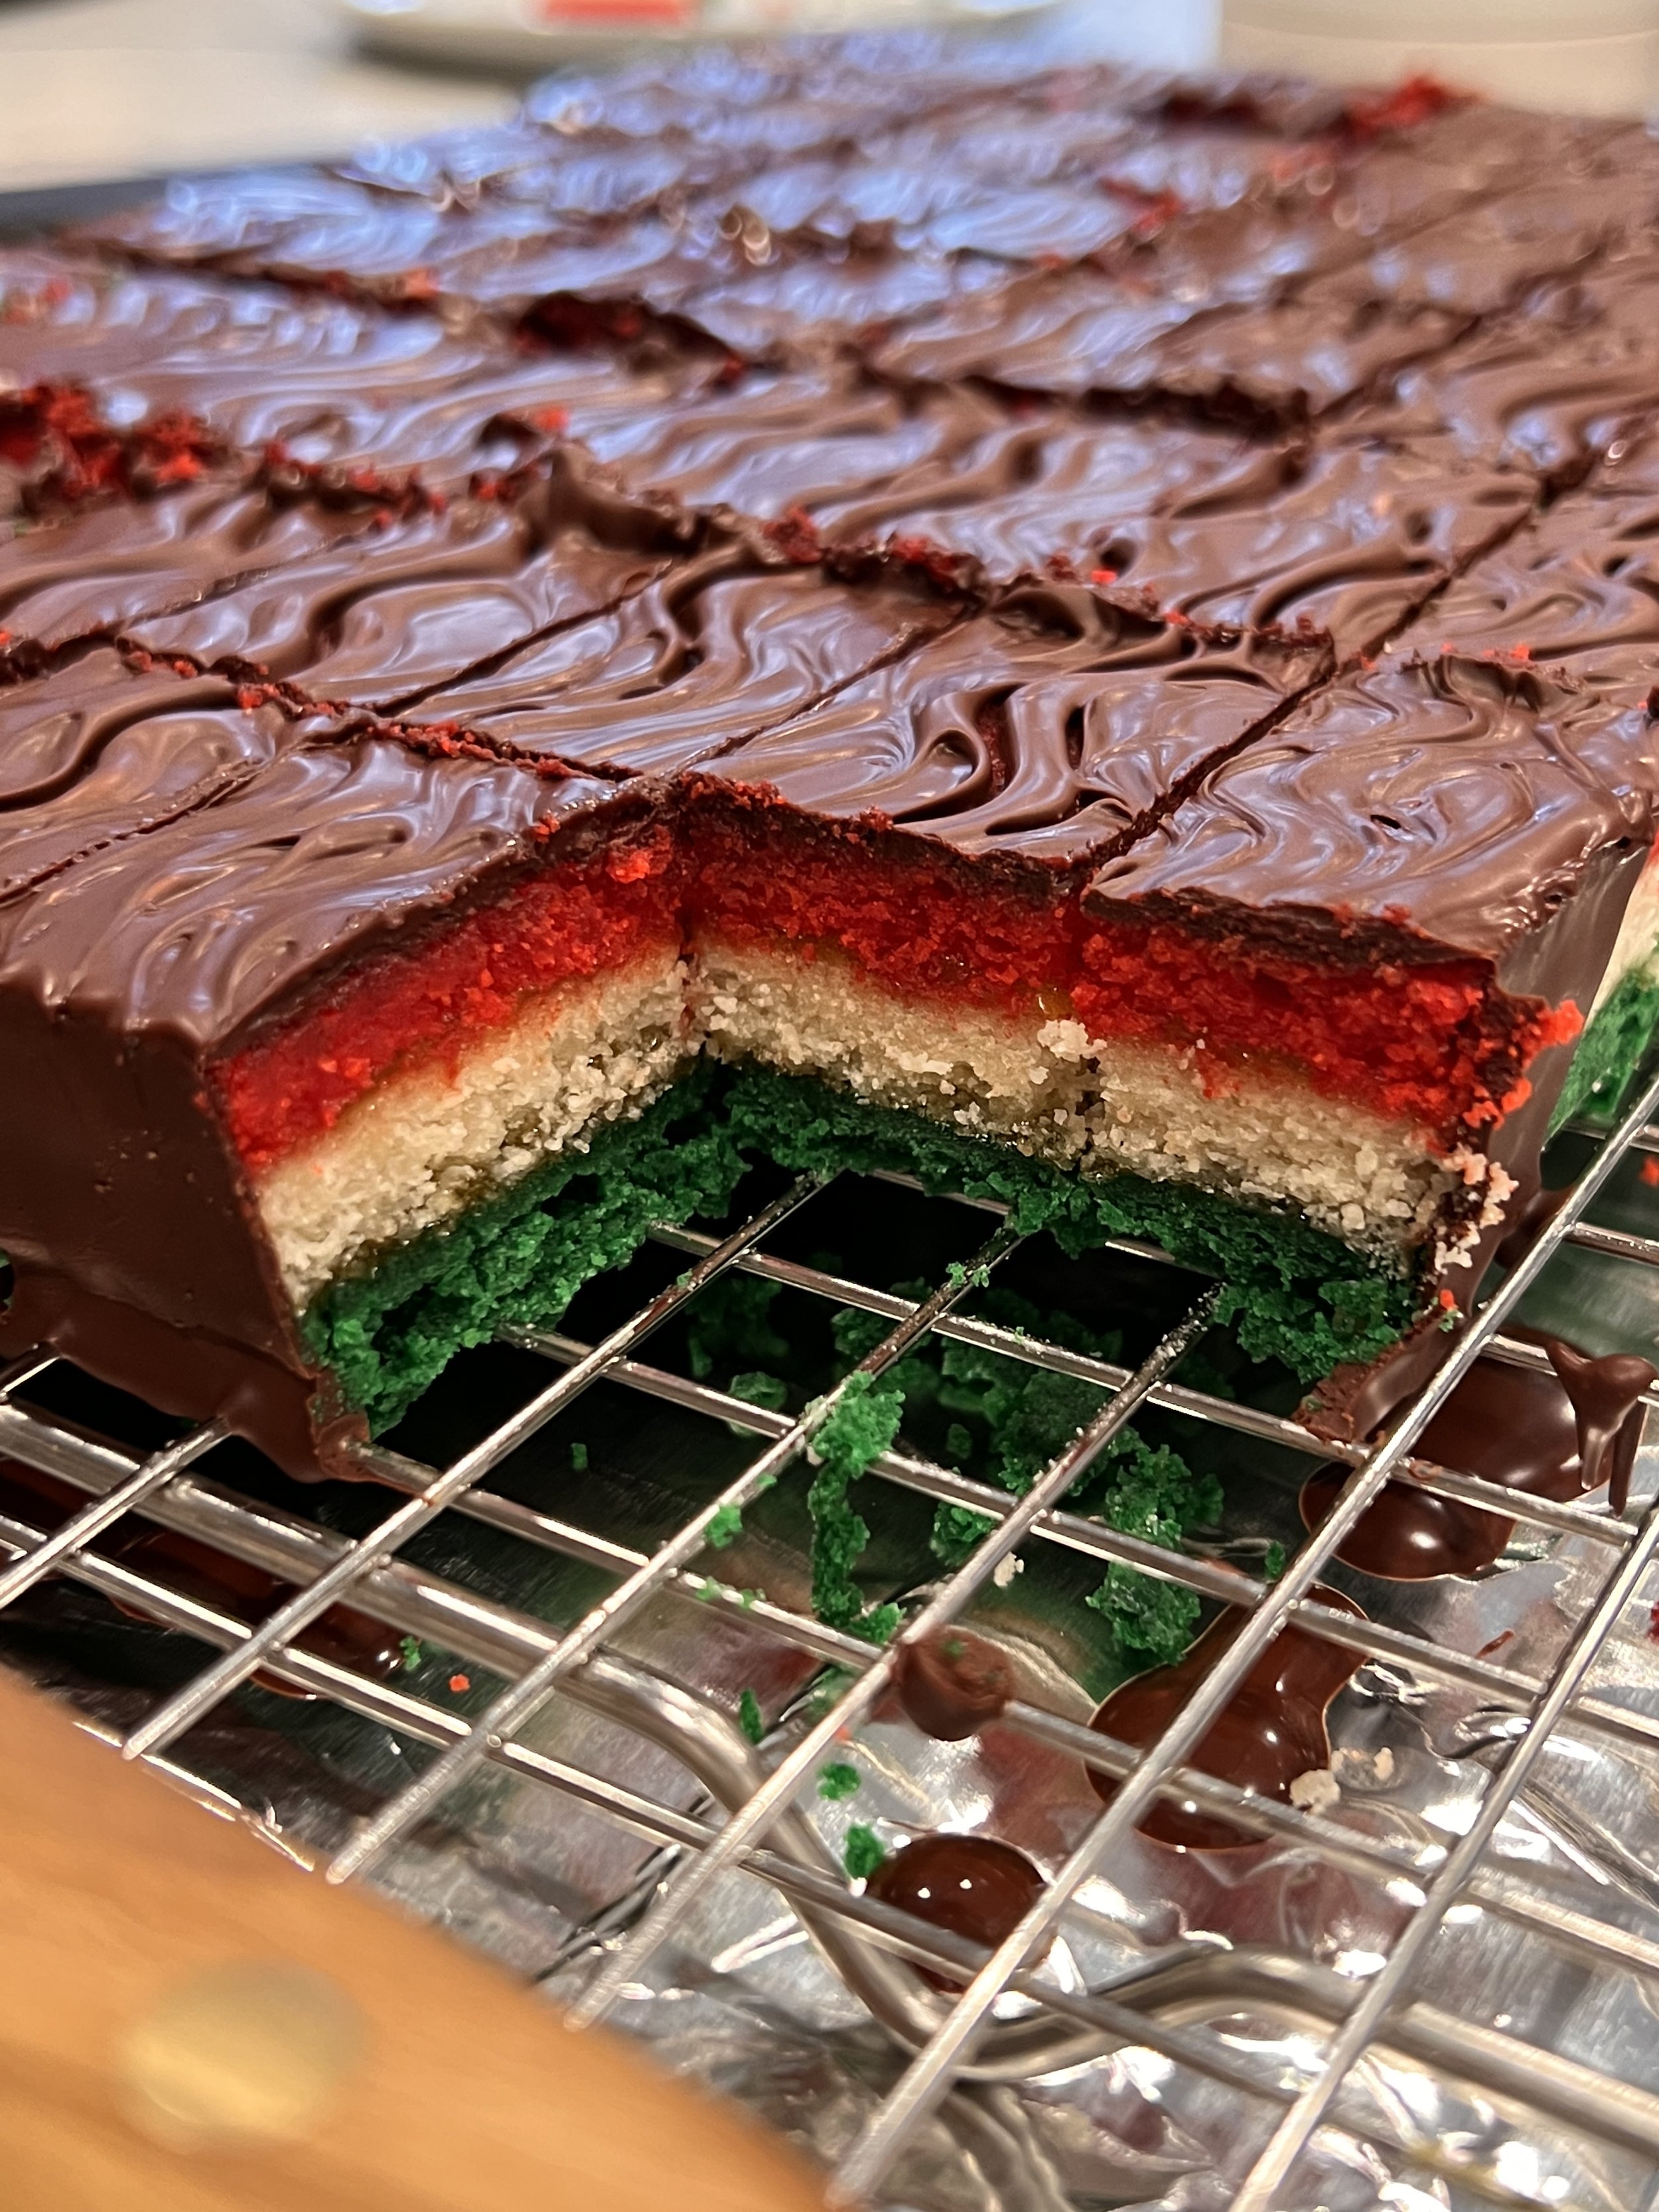
Vegan Italian Rainbow Cookies
Updated recipe, now without the death of animals!
-
Yes, ok, we’ve become those assholes. Our consumption of food with a face has gone down considerably, and we honestly feel really great, health-wise. We’re both sleeping better, our digestion is better, we’re eating more variety of proteins and whole foods, and our blood results are better now that we’re old and have to worry about stuff like cholesterol. Wins all around.
But fuck, man…I love cookies. And baking. And like…how (gestures wildly) are we supposed to do this without butter and eggs?
Luckily, there’s never been a better time to be vegan - the folks eating this way for centuries have paved the way for those of us in the back trying to catch up, and there are so many substitutes for eggs and butter that most things are easy to recreate. (I say most intentionally because I’ve had some serious failures, but that’s another post)
Back to these particular cookies…
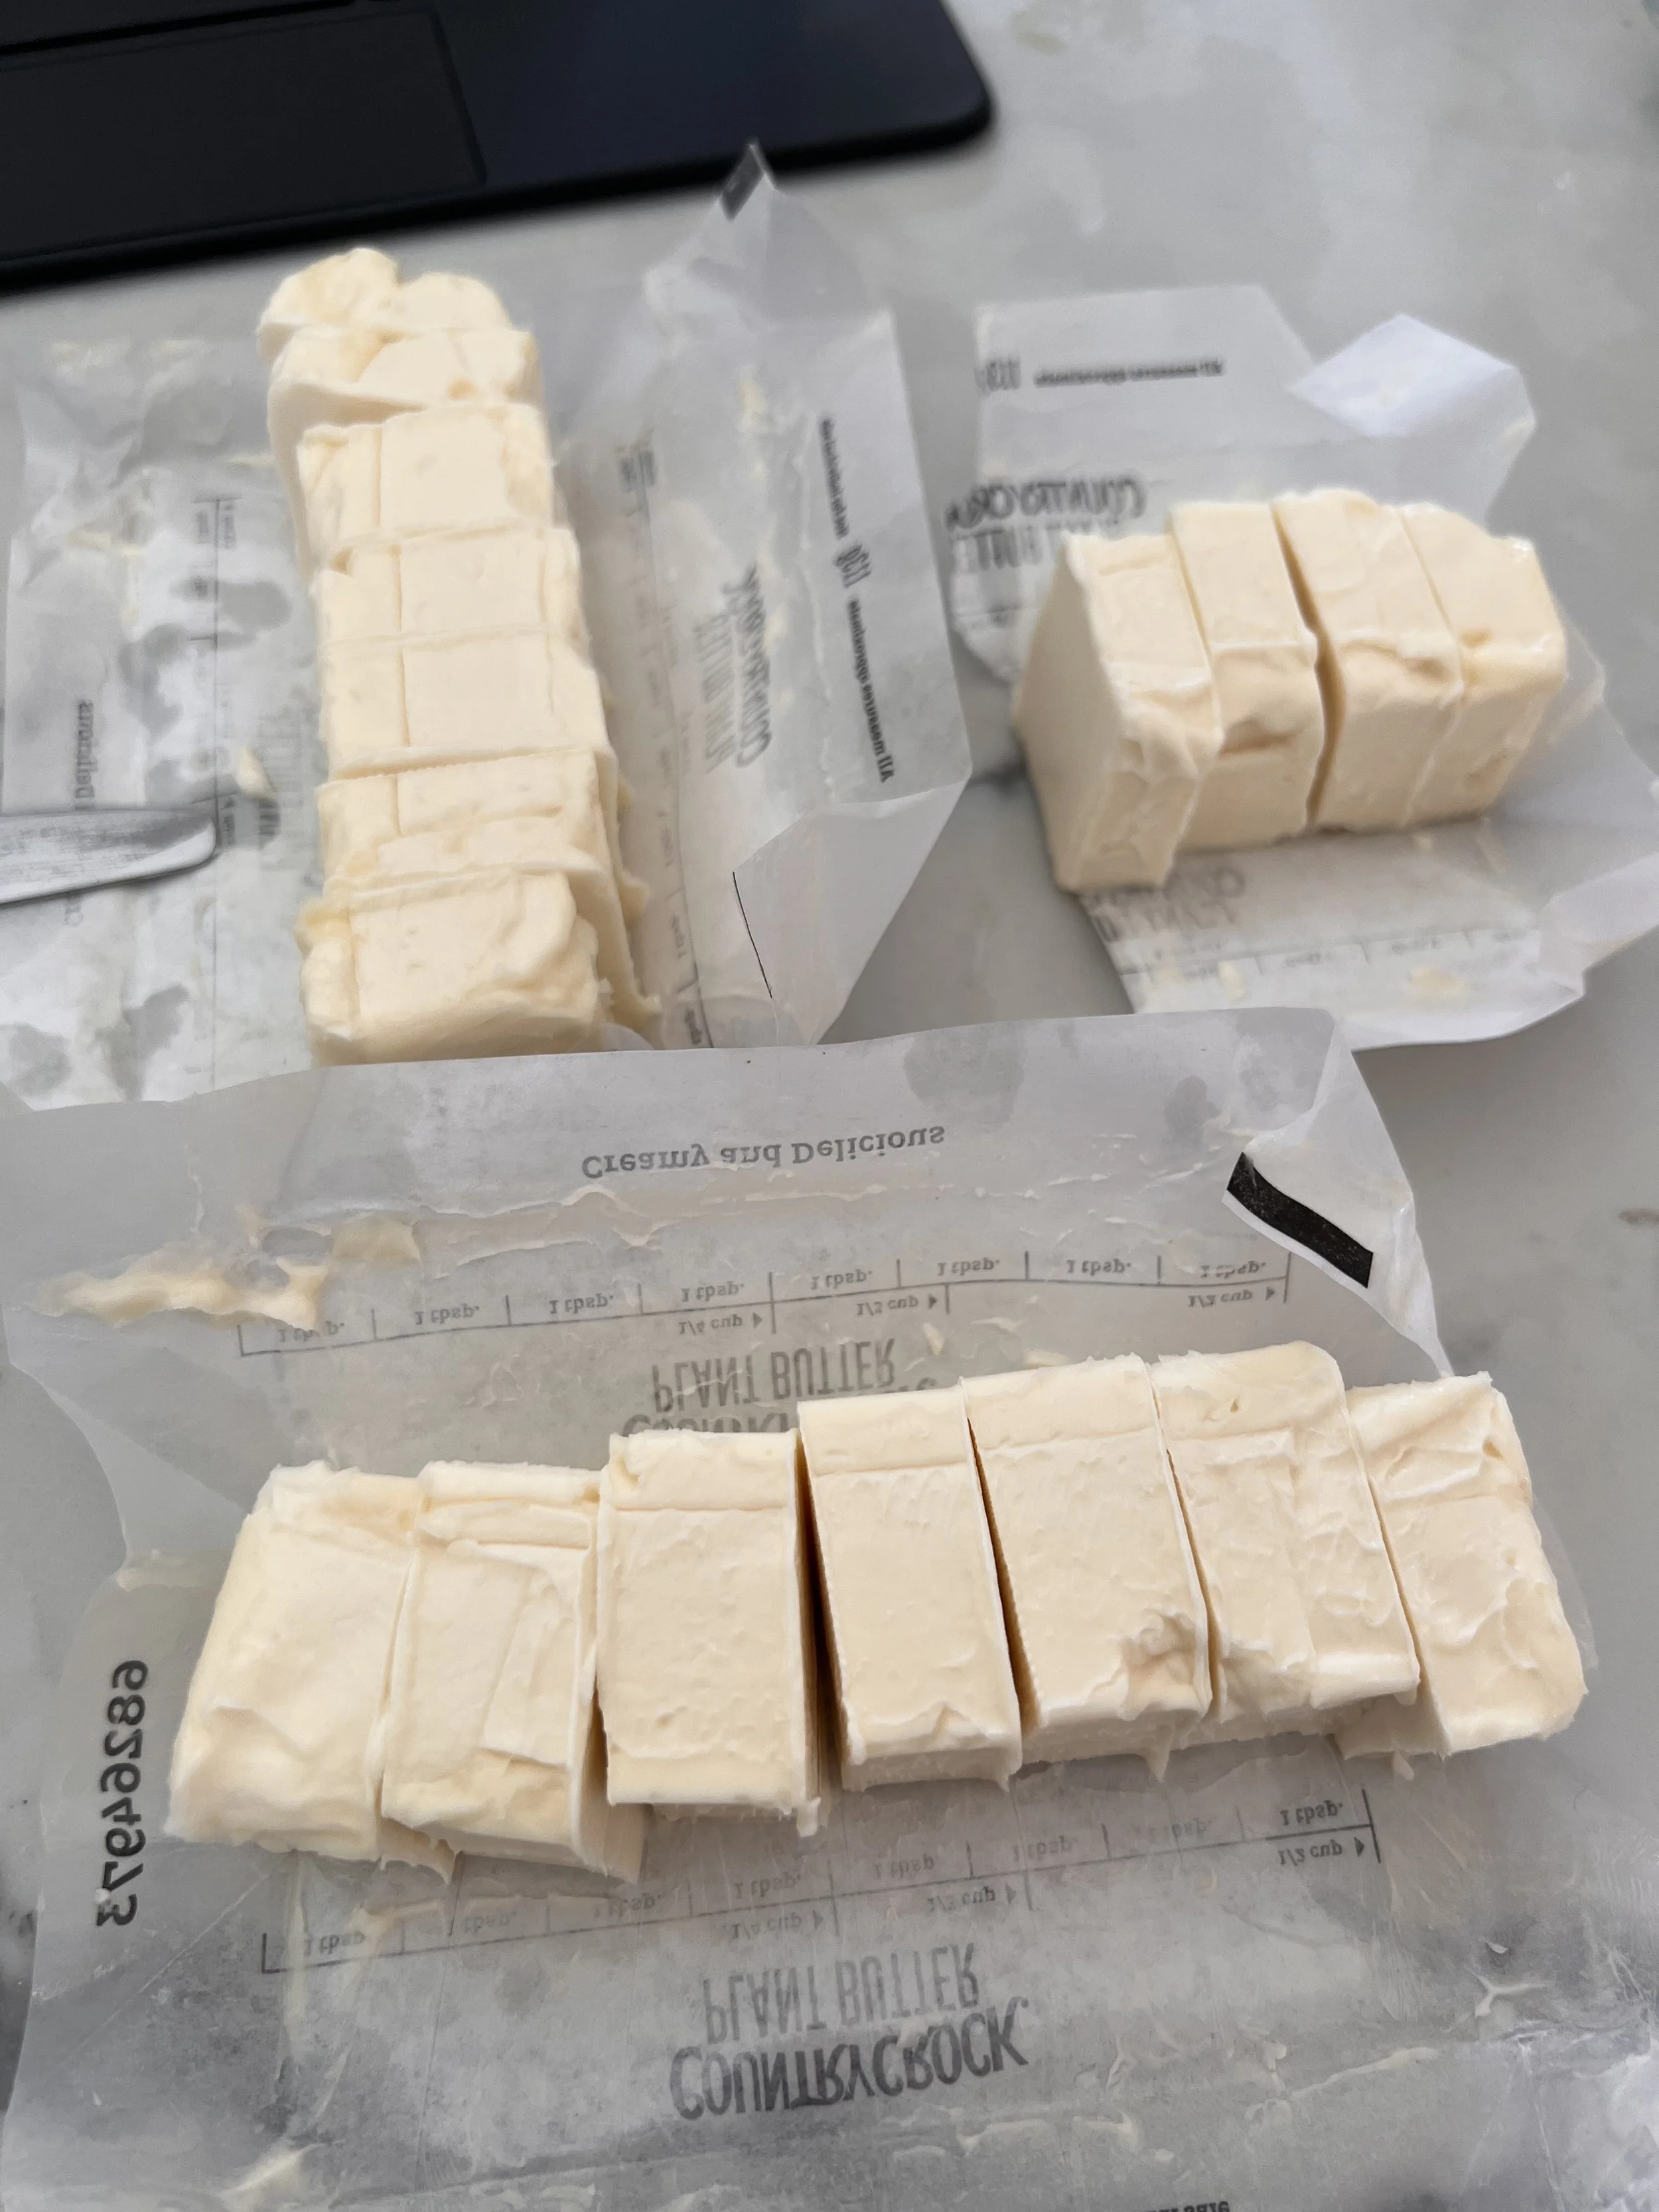
This recipe is still one of my favorites and I wasn’t excited at the idea of not having rainbow cookies during Yule season. Looking at the original recipe, the only items I needed to figure out subs for were eggs and butter. The butter is easy, because vegan butter options are amazing nowadays — my favorite used to be the Miyokos European-style cultured butter, but when venture capitalists ousted the founder of Miyokos last year and switched the recipe to increase their own profits, they filled it with industrial seed oils and it’s not the same. Yay capitalism. So I used Country Crock plant butter in this recipe. It can sub 1:1 and tastes great.
The eggs, however, are a different story. Yes, yes, there are lots of egg substitutes available on the 9,000 vegan blogs that exist right now, but this recipe specifically calls for separating the eggs and folding in egg whites separately from beating in the yolks. How do you do that when every substitute just talks about being 1:1 with a whole egg? The only thing I’ve come across that can be whipped like egg whites is Aquafaba, which is the magical liquid found in a can of chickpeas. Literally bean juice, I can’t. And while Aquafaba is a great sub for eggs in a lot of things, it does not work in this recipe.
This was my first vegan baking failure. I measured the Aquafaba by weight for the yolks and mixed just like normal. Things looked great. Then I whipped the hell out of the remaining bean juice for the egg white portion. It puffed beautifully, almost just like egg whites. I folded it into the rest of the batter, and continued like usual. But the cakes never really set. Instead, they were a sort of crumbly paste with the same texture as when they went into the oven. I can’t really describe it, so I took photos of the failure and tried again with something else.
And that something else was tofu. (Seriously, who the fuck am I?) But it worked, and actually made the recipe easier to make, so it’s a double win, and I don’t have to wash both my stand mixer and my hand mixer like with the old recipe.
And I forced our omnivorous friends to try them and they confirmed they were amazing. So trust me on this one.
Ingredients:
1 1/4 cup unsalted vegan butter, at room temperature
8 oz. almond paste
1 cup of natural sugar
4 oz. firm tofu, pressed to release extra water
1 teaspoon almond extract
2 cups flour
1 1/2 teaspoons kosher salt (I use Diamond Crystal, and yes, there’s a difference)
Green and Red gel food coloring
15 oz. of smooth, apricot or blackberry jam
1 lb. bittersweet chocolate
2 tablespoons coconut oil
Kitchen tools that make life easier:
Stand mixer
Food processor
Large cutting board
Large, sharp, kitchen knife
Sifter
Digital scale
Rubber spatulas
Small, offset spatula
Parchment paper
Cooling racks
Directions:
OK, these directions are essentially the same as the non-vegan recipe, but I’ve gone through and made updates.
Prep: The total time to make these cookies is about 2, 2 1/2 hours of effort, plus overnight refrigeration, so plan ahead. Butter (vegan butter) and flour the jelly roll pans, and line the bottoms with parchment paper.
Preheat your oven to 350 degrees F.
Make the layers.
Place a sheet of parchment paper on your counter, and sift the flour and salt onto it. Set aside.
In a food processor, add the almond paste and sugar. TIP - It’s helpful if you break up the almond paste into smaller chunks, first. Pulse this mixture until it resembles wet sand.
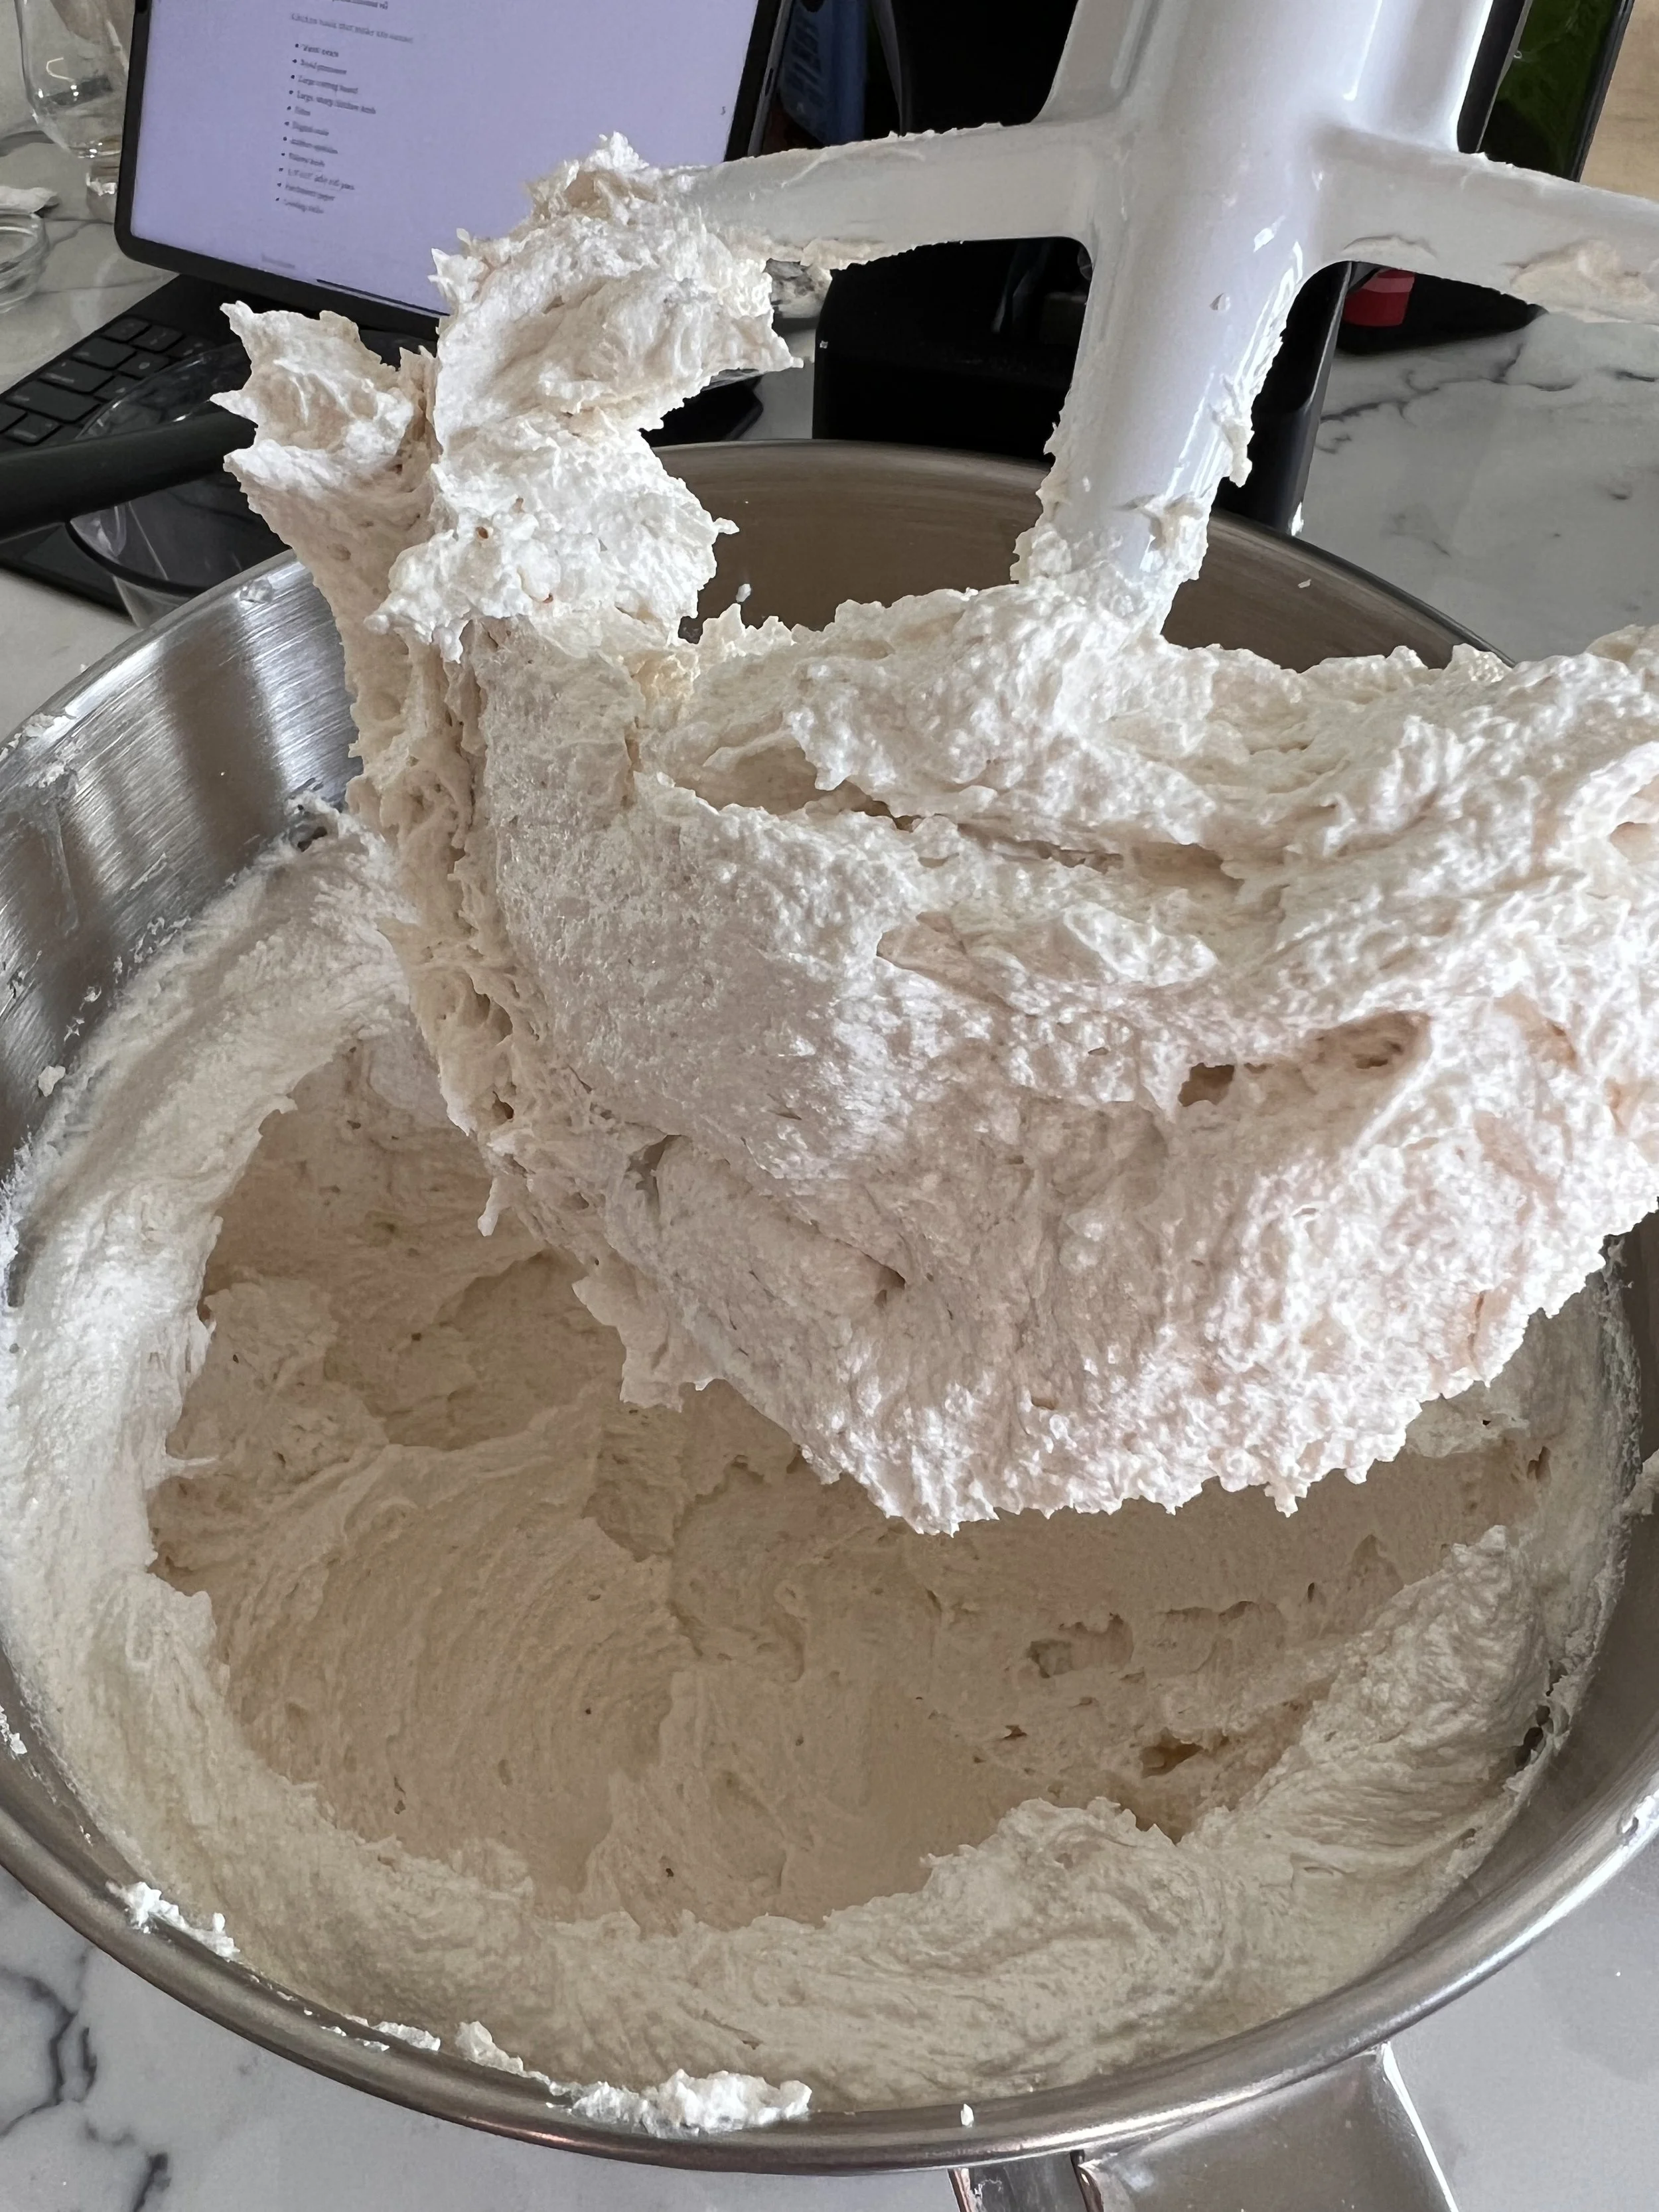
Pour the almond paste/sugar mixture into the bowl of the stand mixer, and, on low-medium speed with the paddle attachment, begin to incorporate the vegan butter. I’d say a couple tablespoons at a time. Take your time and make sure the butter is fully mixed in before adding more. Once the butter is completely incorporated, put the speed up to medium/medium-high and whip for 90 seconds until the batter is fluffy.
Put the tofu in the food processor, and process until it’s an even paste. Add that and the almond extract into the batter on medium speed until fully mixed, about a minute.
Pick up the parchment paper with the sifted flour on it, and with the mixer on low speed, start to incorporate the dry ingredients in three batches. The batter will be pretty thick. Make sure you’re stopping to scrape the sides of the bowl and the mixing blade as you go so that everything is well mixed.
Take the bowl off the mixer, scrape down the paddle, and using a rubber spatula, give it a few good folds to make sure there’s nothing stuck on the bottom that wasn’t mixed in.
Using the digital scale, divide the batter into three even portions (so that each layer of the cookie will be even). Mine ended up being around 14 oz per layer, but this will vary depending on where you live and what kind of flours, butters, etc. you’re using.
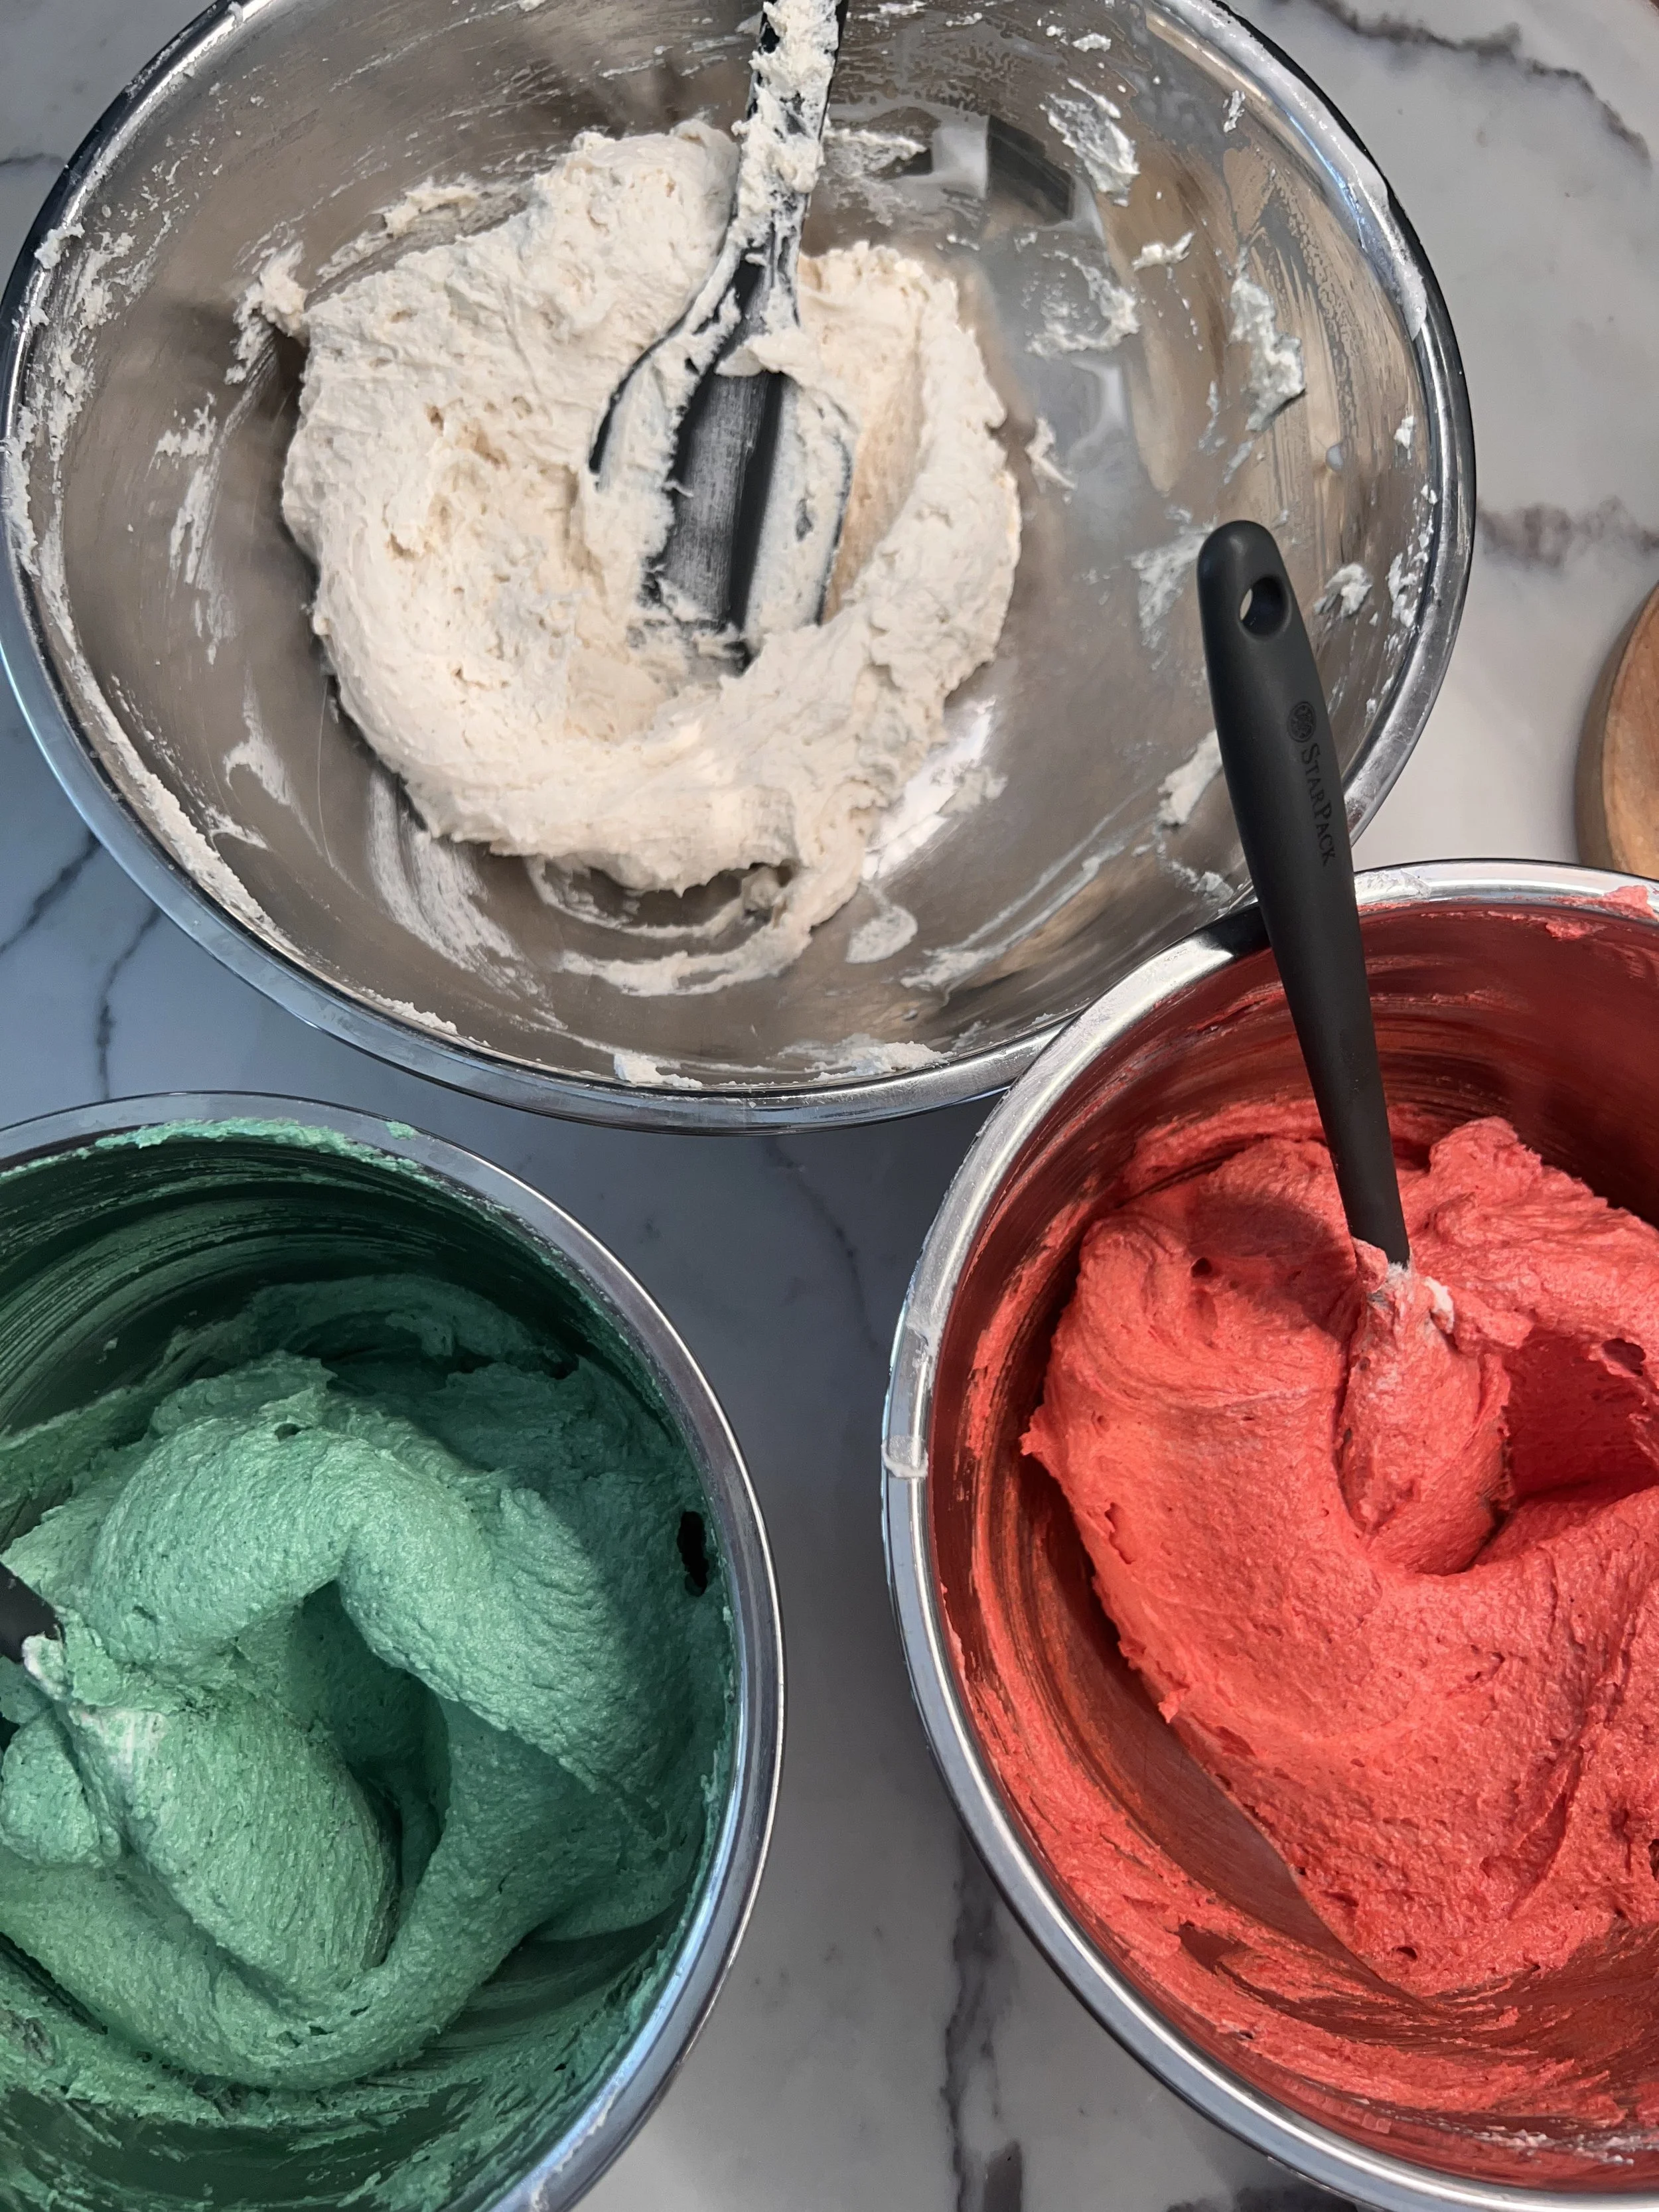
Measure each portion into its own bowl. Add red food coloring to one and green to another, leaving the third as is. Mix in the coloring, but don’t over mix or you’ll develop more gluten than you need and your layers will be extra chewy. The amount of food coloring is up to your discretion, so go as dark as you like.
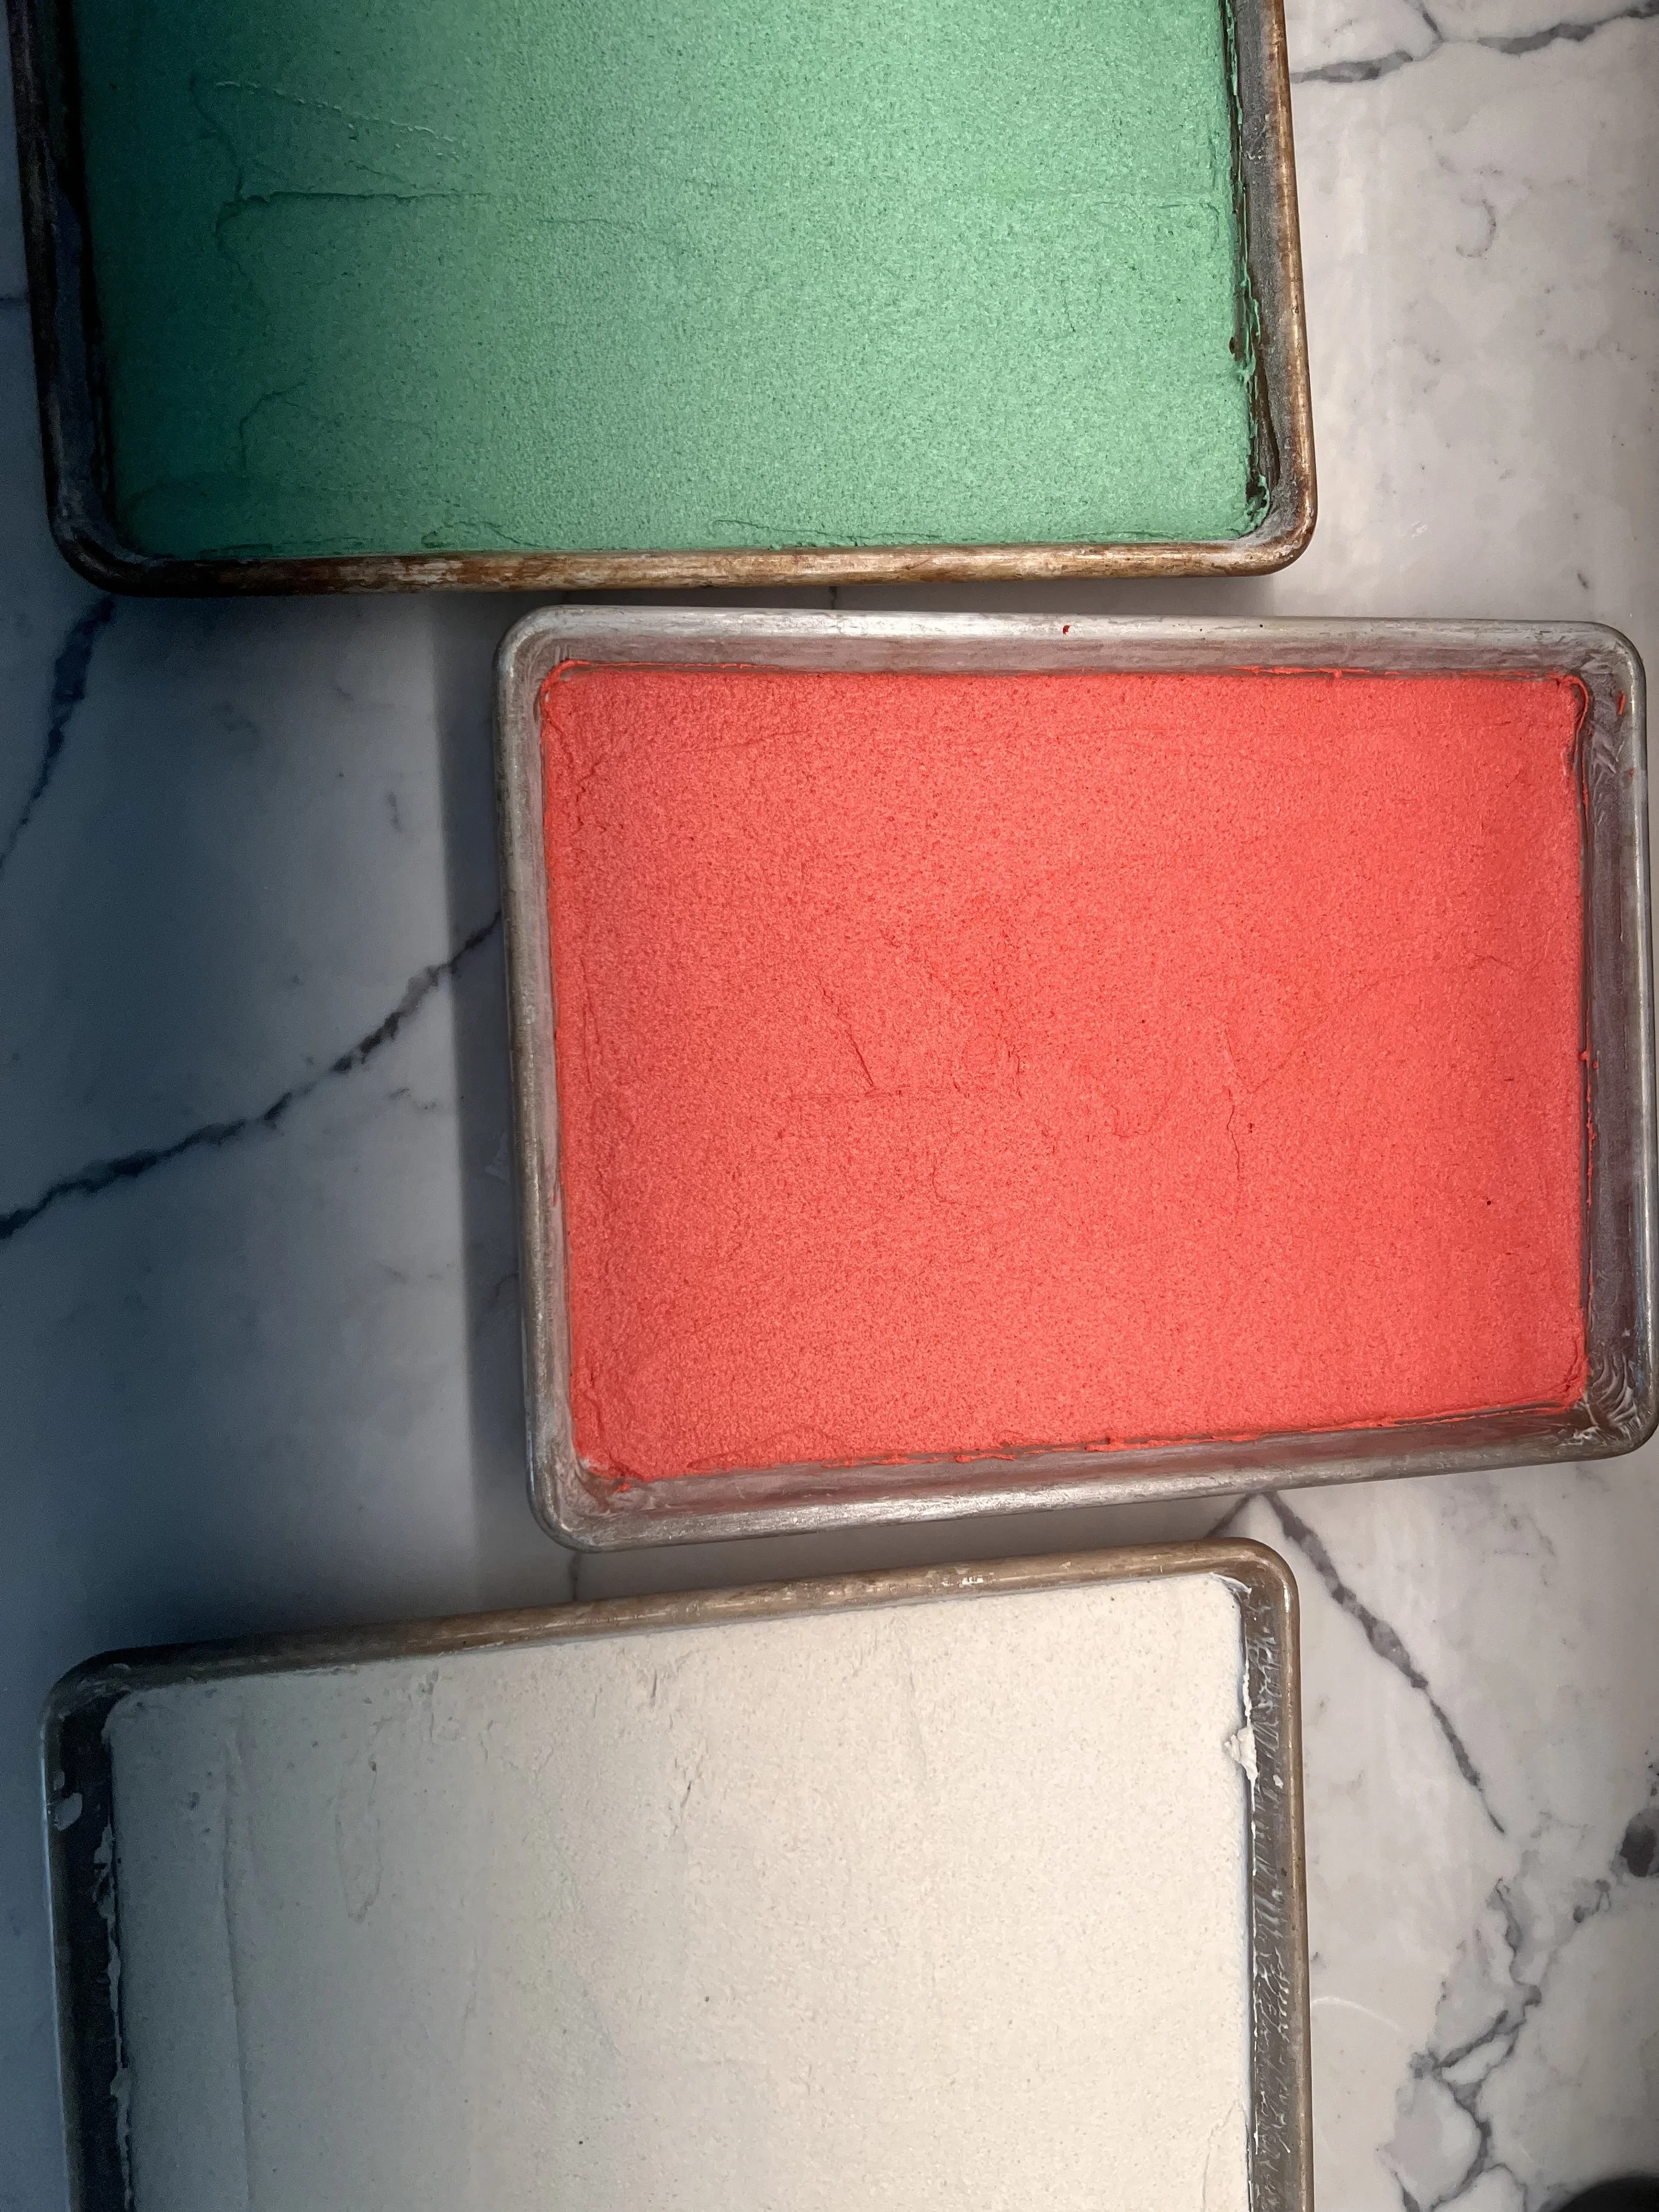
Pour each bowl of batter (or scoop, really, because it doesn't pour) into its own prepared jelly roll pan. Using the offset spatula, spread the batter evenly so that it covers the entire pan, edge to edge. Yes, this takes a bit of time. Yes, this is a pain in the ass. Yes, the cakes are very thin. Be patient. If it's sticking pretty bad, spray the palette knife with cooking spray.
When all three cakes are ready, place them in the oven to bake for about 10 minutes, or until the white cake just starts to brown on the edges.
Pull them out and let them cool in their pans on a wire rack until they reach room temperature. Do not take them out of the pans.

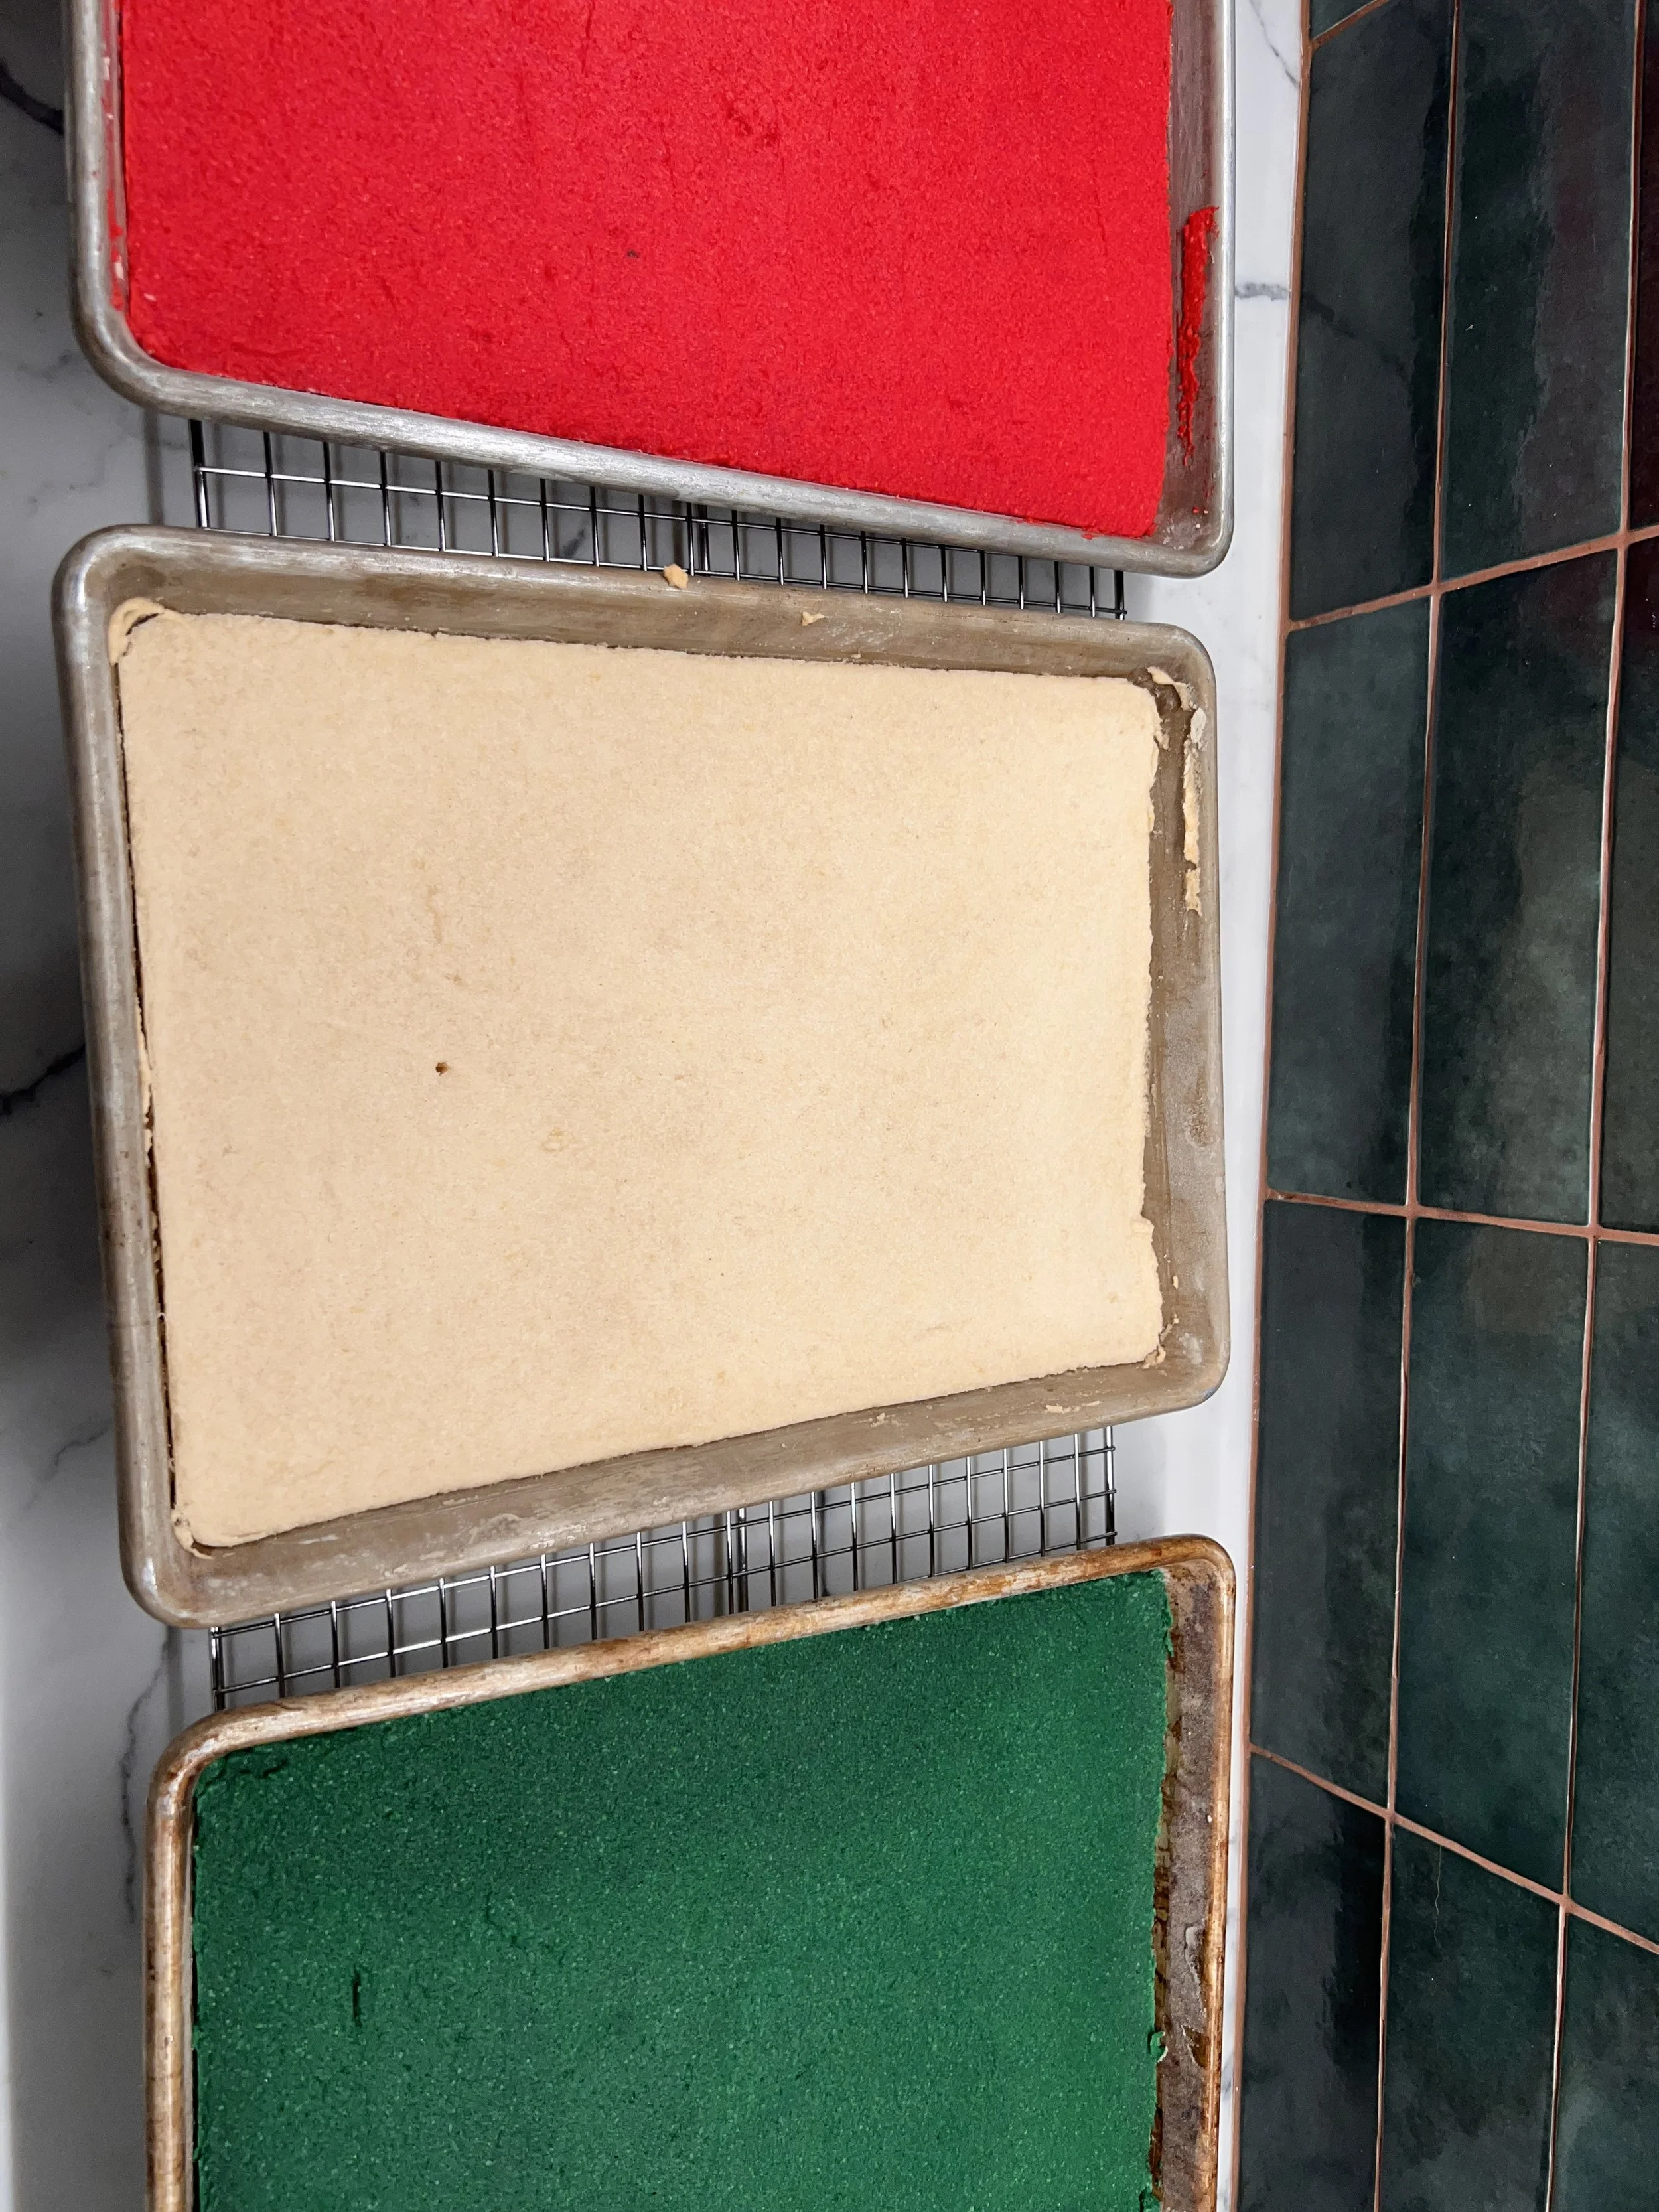
Assemble the layers.
This part can be tricky, so I’ll do my best to explain it right.
Leave the green cake in the pan, and spread a thin layer of jam over the entire surface (use the offset spatula because it’s the best kitchen tool ever).
Take the white layer and flip it onto a cutting board so it comes out of the pan. Peel off the parchment and slowly slide it onto the green layer. Now spread jam all over the top of the white layer.
Invert the red layer, just like you did the white layer, and slide it onto the white layer.
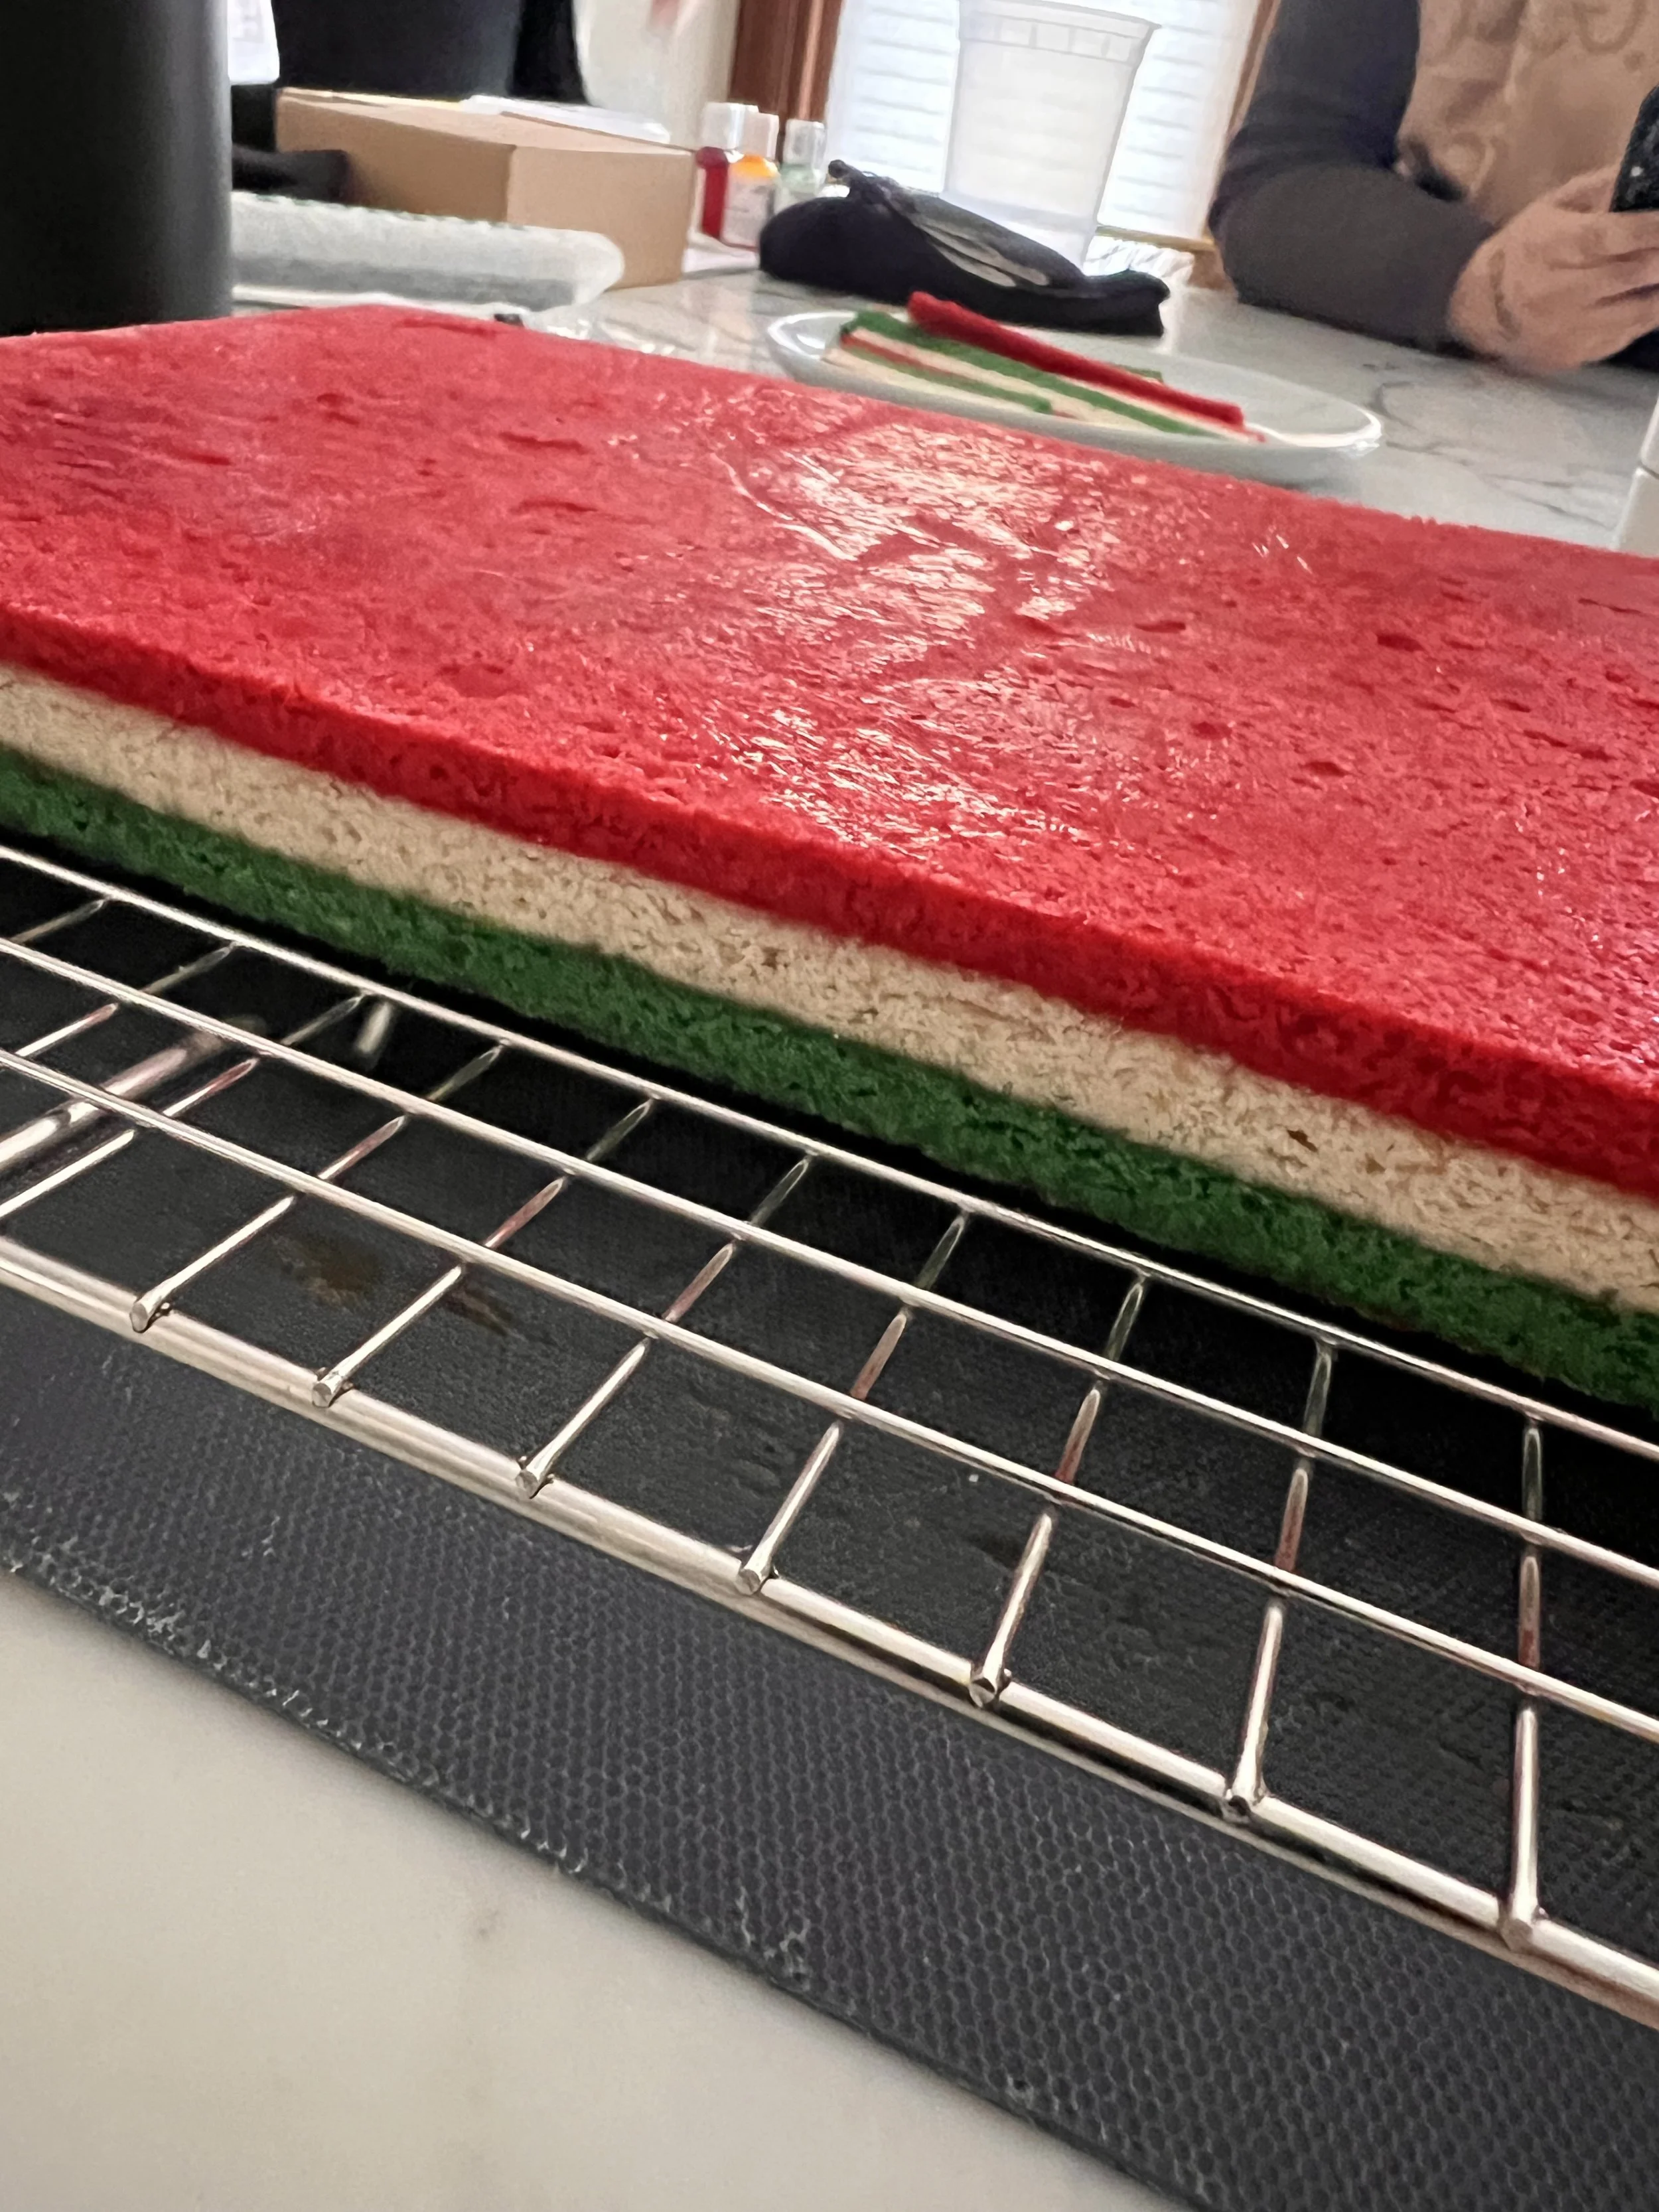
So, you should have one jelly pan that contains the following, starting from the bottom: green layer, jam, white layer, jam, red layer.
Place the cutting board on top of the entire thing, and flip it over so that the red side is the bottom layer on the cutting board. Remove the pan, peel the parchment paper off the green layer, and cover the entire thing in plastic wrap.
Put one of the empty pans on top of the green layer, and put weights in the pan to press down on the layers (I used a case of La Croix).
Refrigerate for at least 4 hours, or overnight.
Summary: in your fridge, you have a cutting board with the following layers, starting from the bottom: red layer, jam, white layer, jam, green layer, plastic wrap, jelly roll pan, weights.
Finish the cookies.
Take the assembled layers out of the refrigerator and unwrap them so you just have the layers on top of the cookie sheet. Peel off the parchment from the green layer, and use a sharp kitchen knife to trim the sides so that you have an even rectangle.
Slide the entire thing, red side down, from the cutting board onto a cooling rack. Line a cookie sheet with wax paper or parchment, and put the cooling rack with the layers on top.
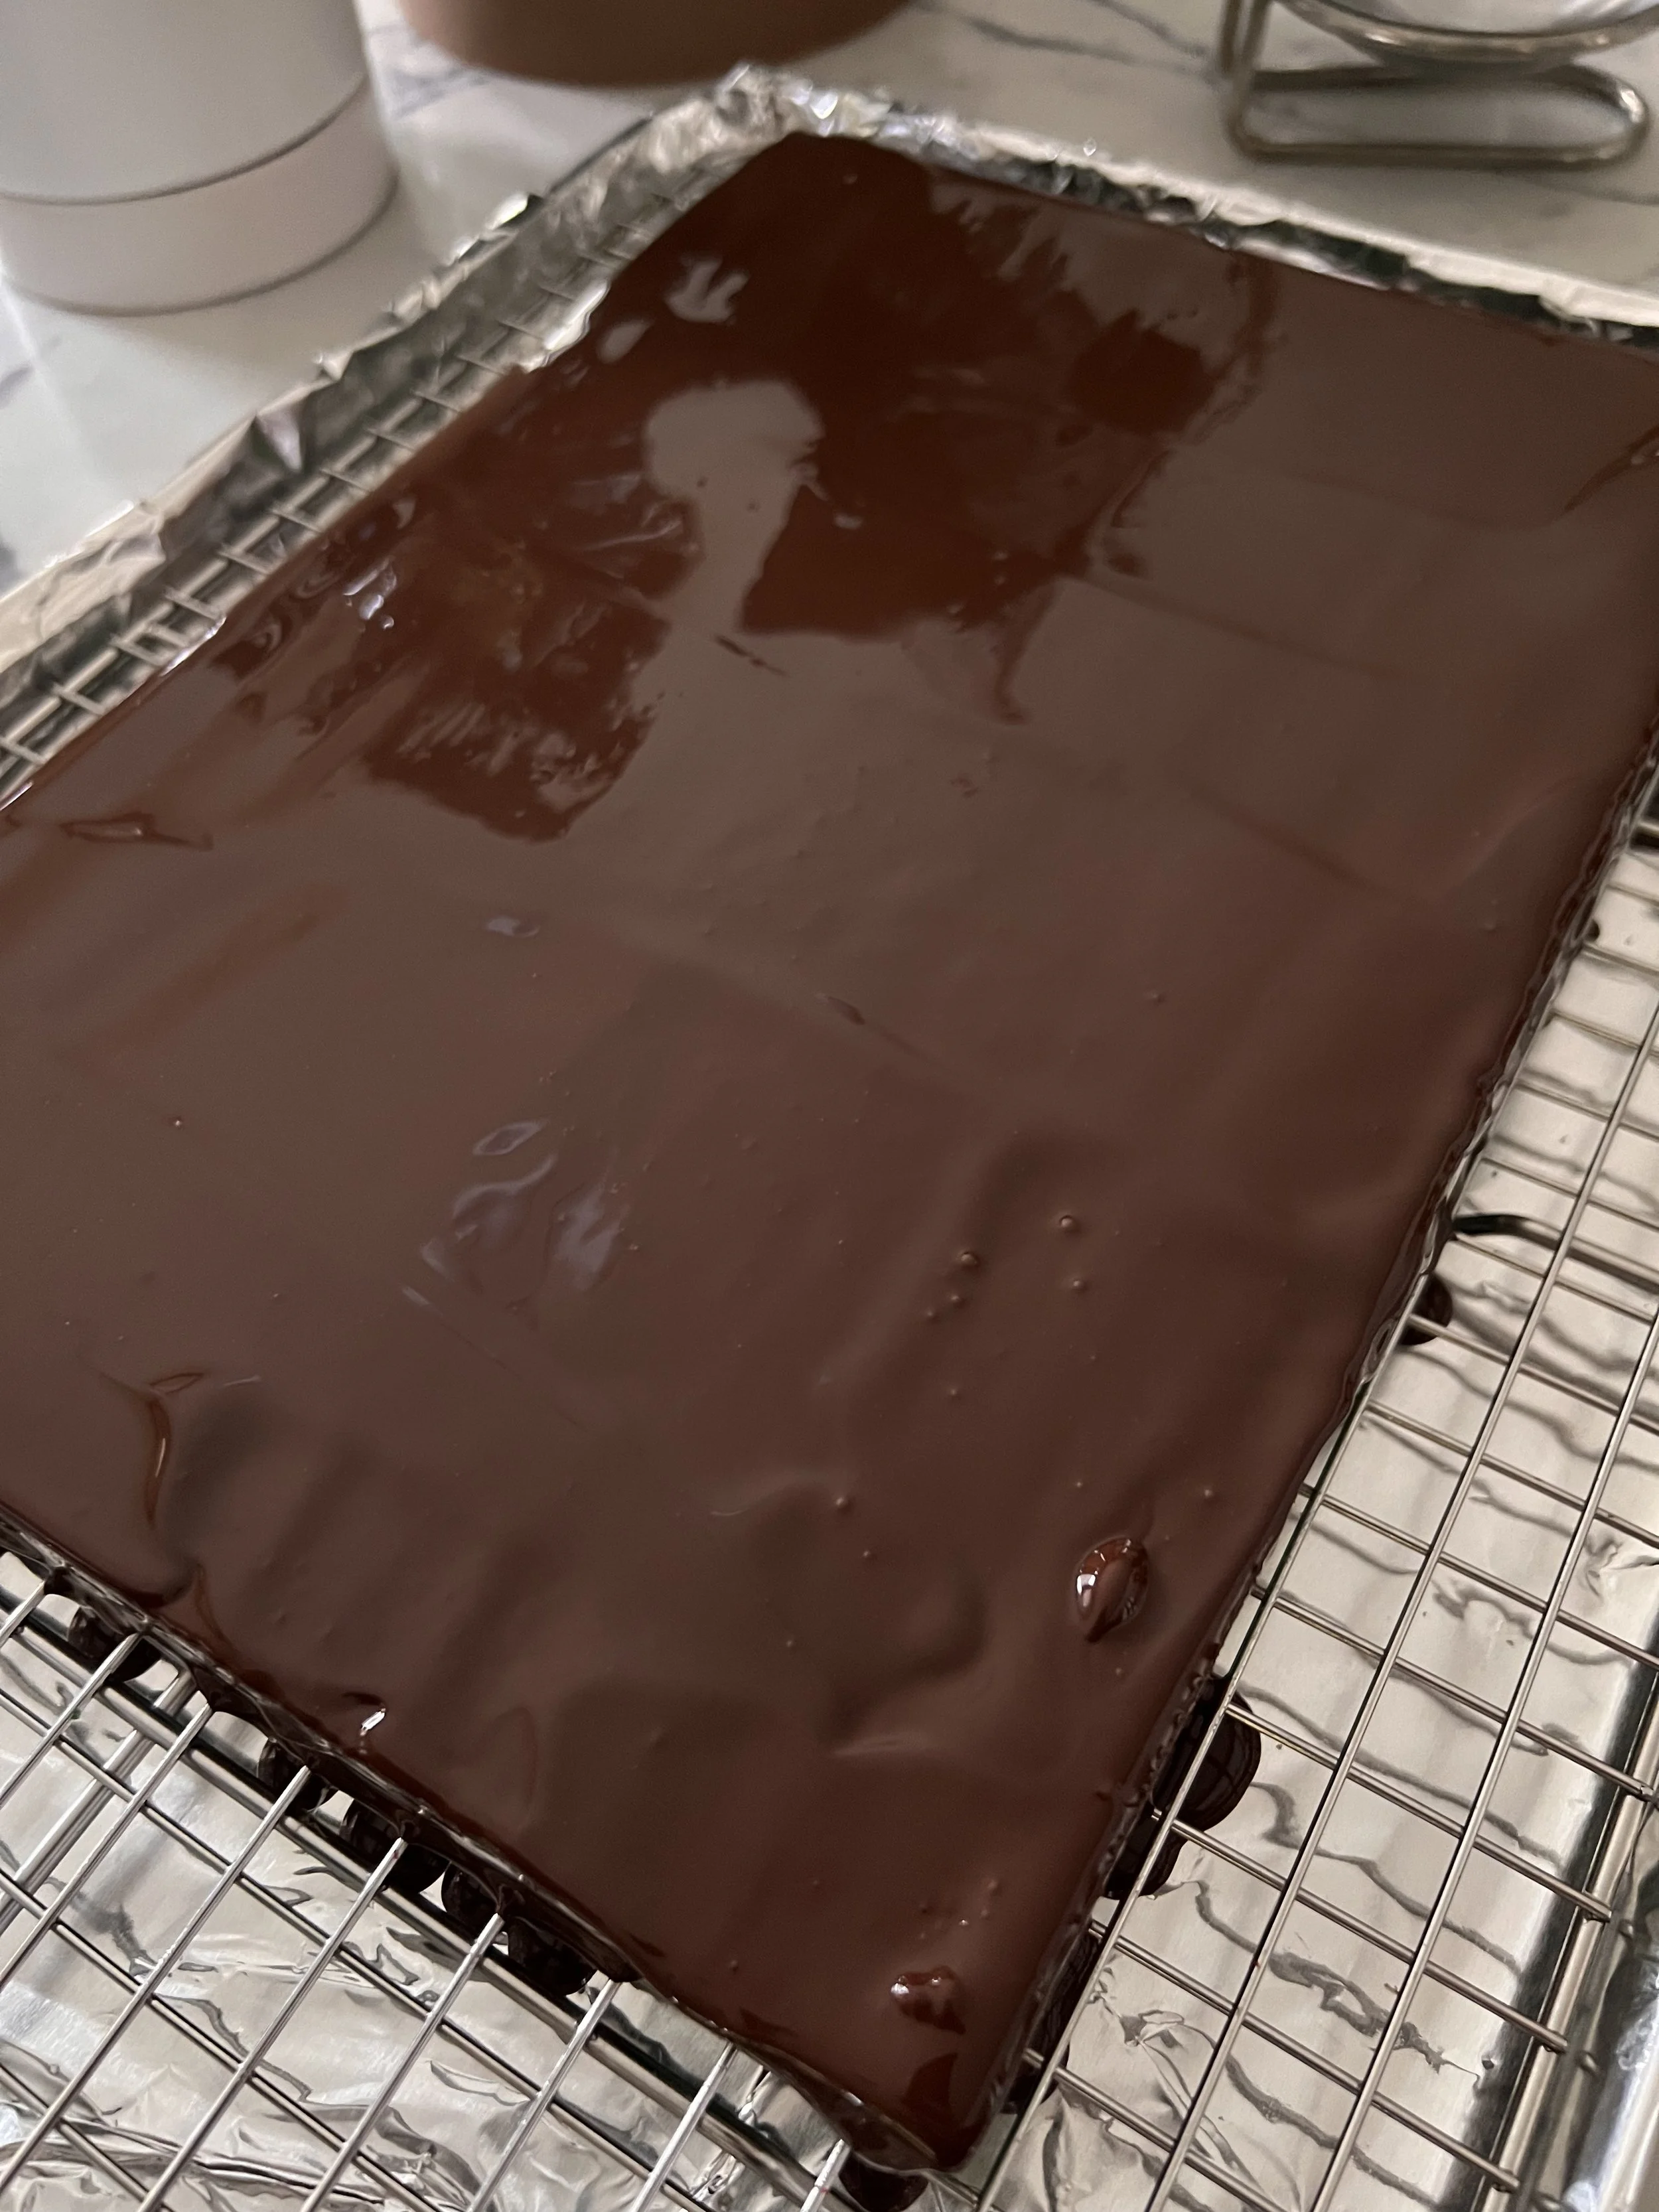
Chop the chocolate and melt half of it in a double boiler with 2 tablespoons of coconut oil. Remove from heat, and stir in the remaining chocolate until it’s completely melted. I don’t go to the trouble of tempering my chocolate because it’s a pain in the ass and nobody’s got time for that. But please, feel free if you’re into that.
Pour the chocolate over the entire thing, using the offset spatula to smooth it out and around all sides. It should be a thin layer of chocolate. The wax paper underneath will catch the excess chocolate.
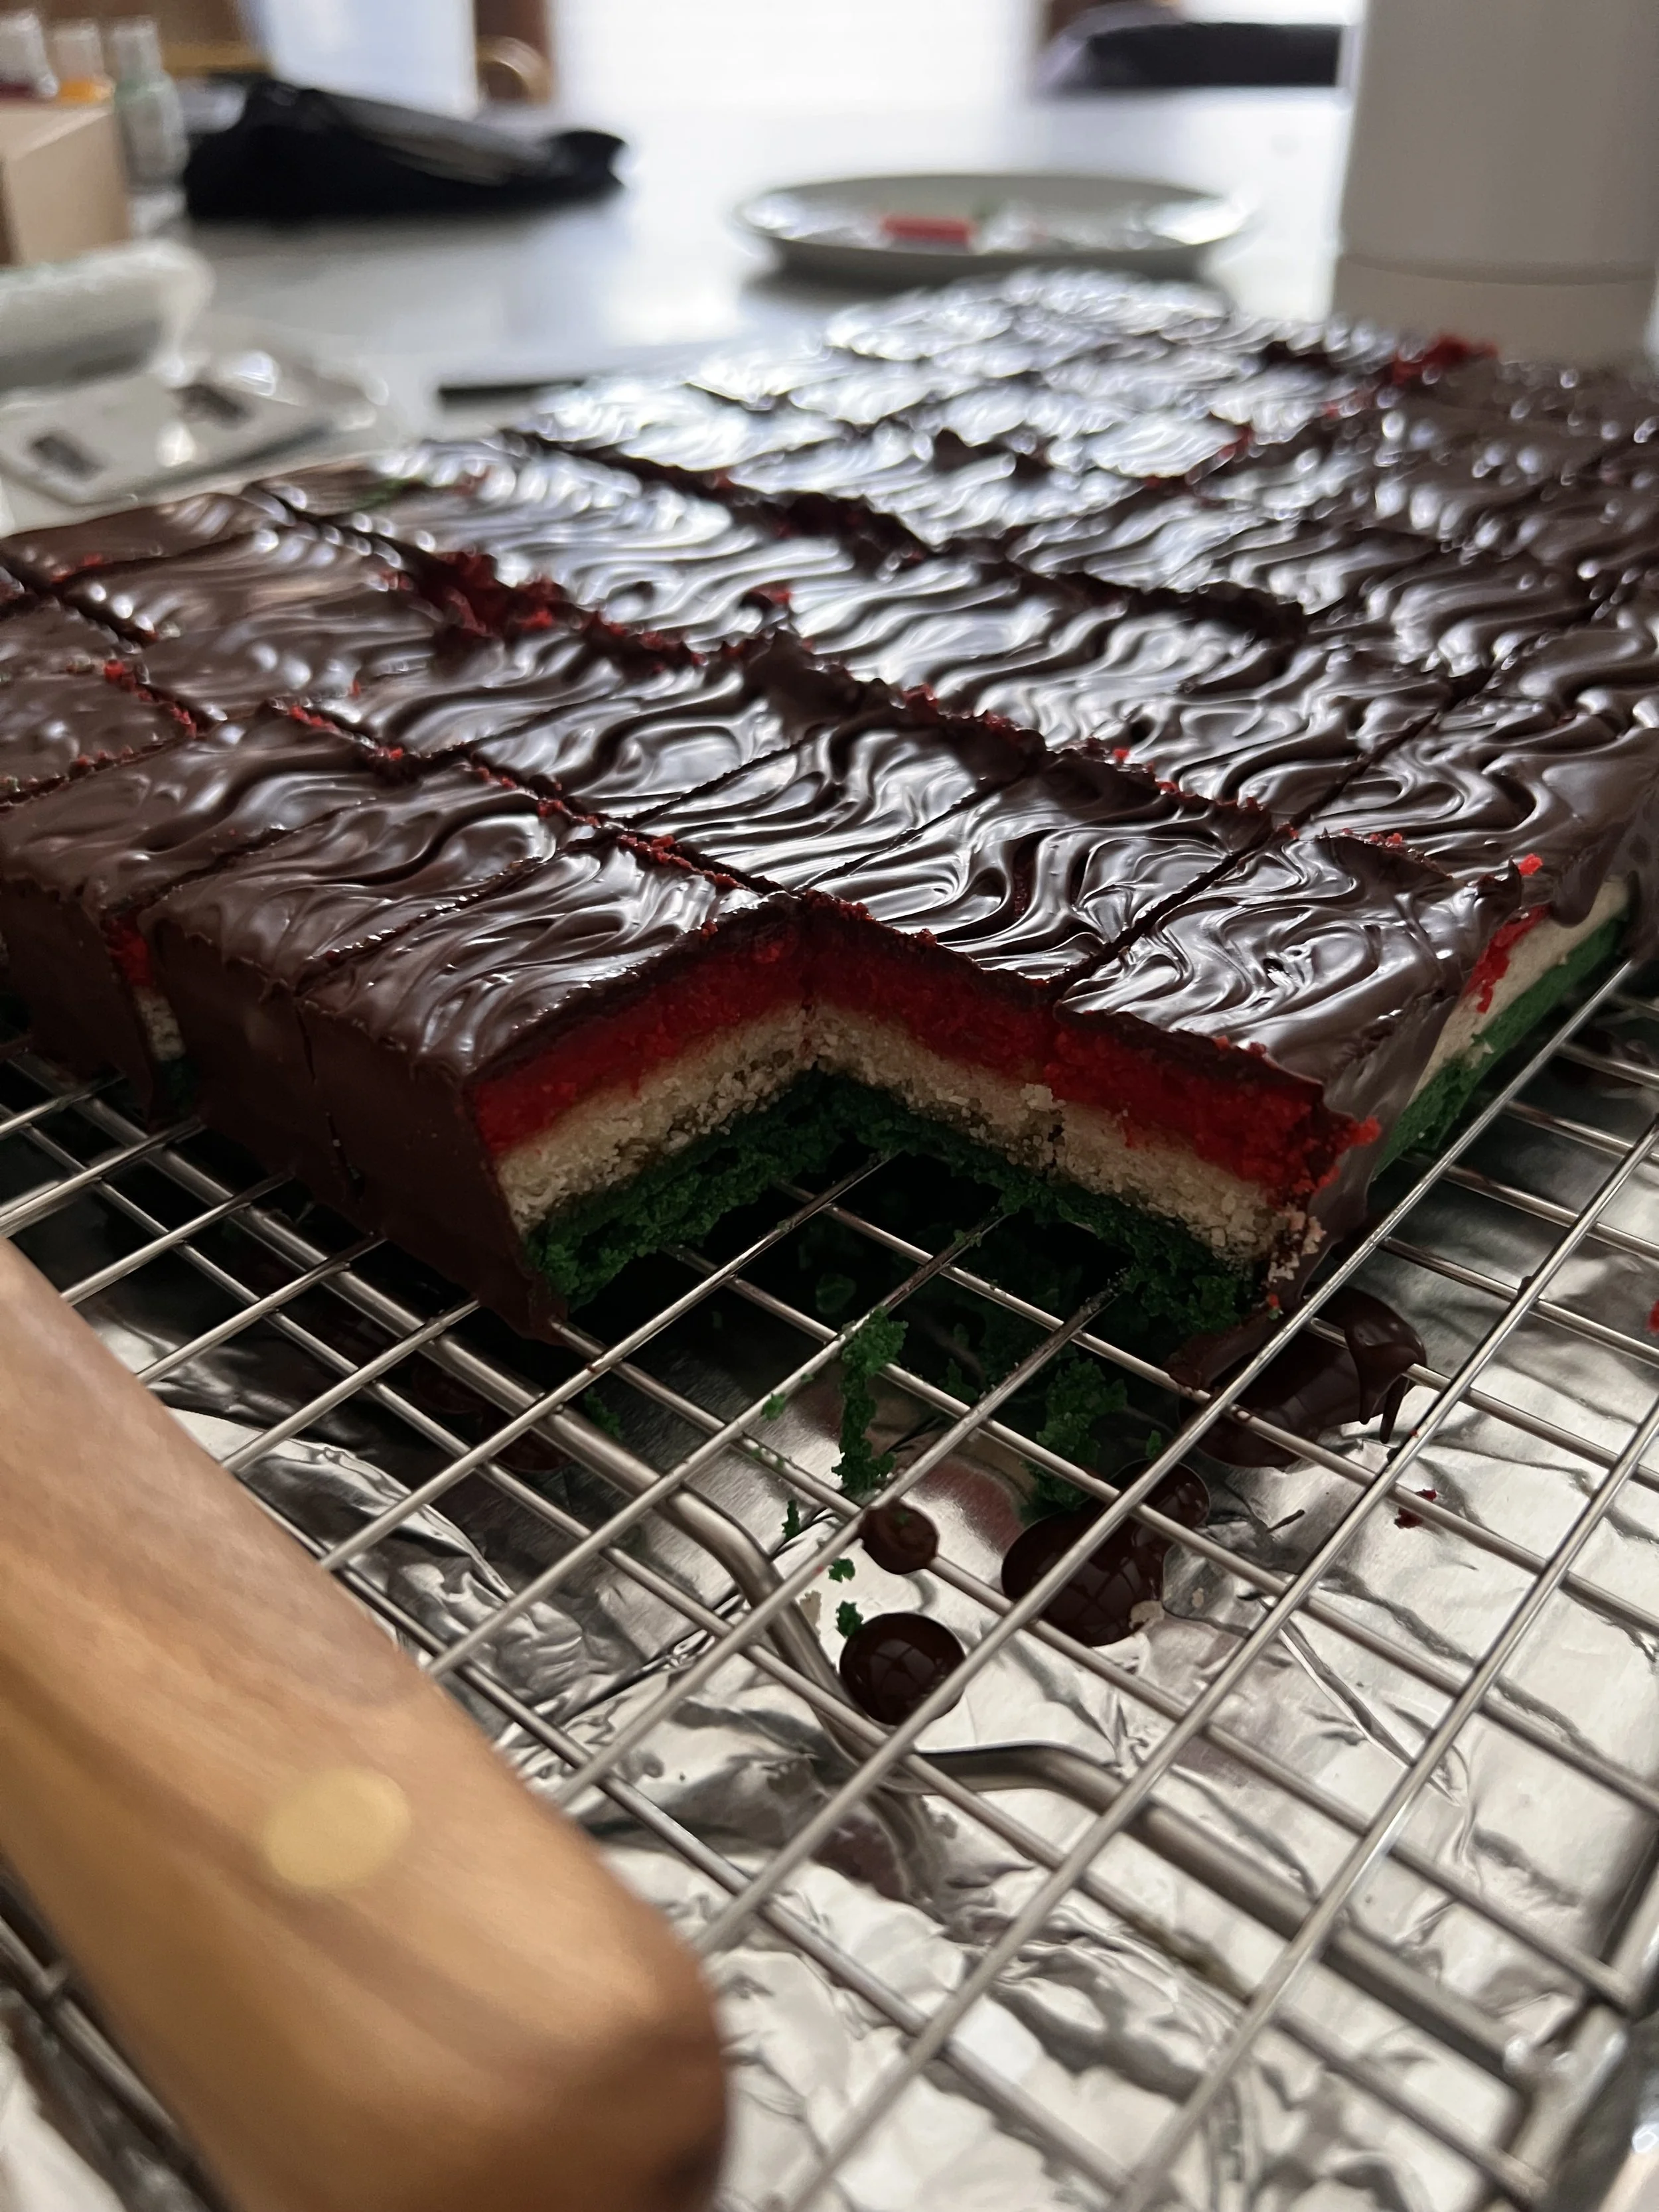
When the chocolate has stopped dripping, use a large spatula to transfer the entire thing back to a cutting board. Using a fork, swirl a sort of chevron pattern into the top of the cookies. Then, let them rest for about 20 minutes, or until the chocolate has started to set.
Use a sharp kitchen knife to slice the cookies into 1 1/2 x 1/2 inch rectangles. Ish. I don’t measure mine. NOTE - I often run the blade under hot water to heat the metal and then let the metal melt through the chocolate before slicing all the way down. This will prevent cracking if the chocolate is fully set.
You should end up with around 4-5 dozen, depending on their size, and depending on how many you shove into your mouth while slicing. After I was done slicing, I put them all back into the fridge, covered, overnight. These actually get better after a few days in the fridge.
And that’s vegan rainbow cookies. Your carnivorous friends won’t have any idea.
I promise.